The do’s and don’ts of re-using pipette tips
New users of micropipettes are taught “Always use a new tip!” However, always using a new pipette tip creates a lot of plastic waste. Surely, there must be a better way.
Savvy lab practitioners know that a new tip isn’t always necessary. So here we suggest some basic rules for when you definitely need a new tip, and then some times when it may be OK to reuse one.
Times it is not OK to re-use a tip: To know when it’s ok to reuse, first it helps to know when not to reuse a tip.
- Be extra cautious around DNA, especially if PCR is involved. DNA contamination can be especially problematic and can result in multiple rounds of decontamination and throwing out reagents. Because PCR amplifies DNA, even the most minute amounts of DNA contamination can turn into big problems. In short, extremely small amounts of contaminating DNA can be disastrous.
- If a tip comes in contact with more than one reagent, throw it out. When micropipetting, you often want to add your reagent directly to other reagents already in the tube. When you do this, your tip will come in contact with reagents that could cause cross-contamination; throw it out.
- Don’t ever put a used tip back into a stock reagent. If you are using a reagent that will go back on the shelf or in the freezer to be used again, even if contamination is extremely unlikely, use a new tip every time. If stock reagents become contaminated, they have the potential to contaminate many more experiments down the line.
- When in doubt, throw it out. If you are ever questioning whether a new tip is necessary, use the new tip. Using a few extra pipette tips is always better than ruining an entire experiment with contamination.
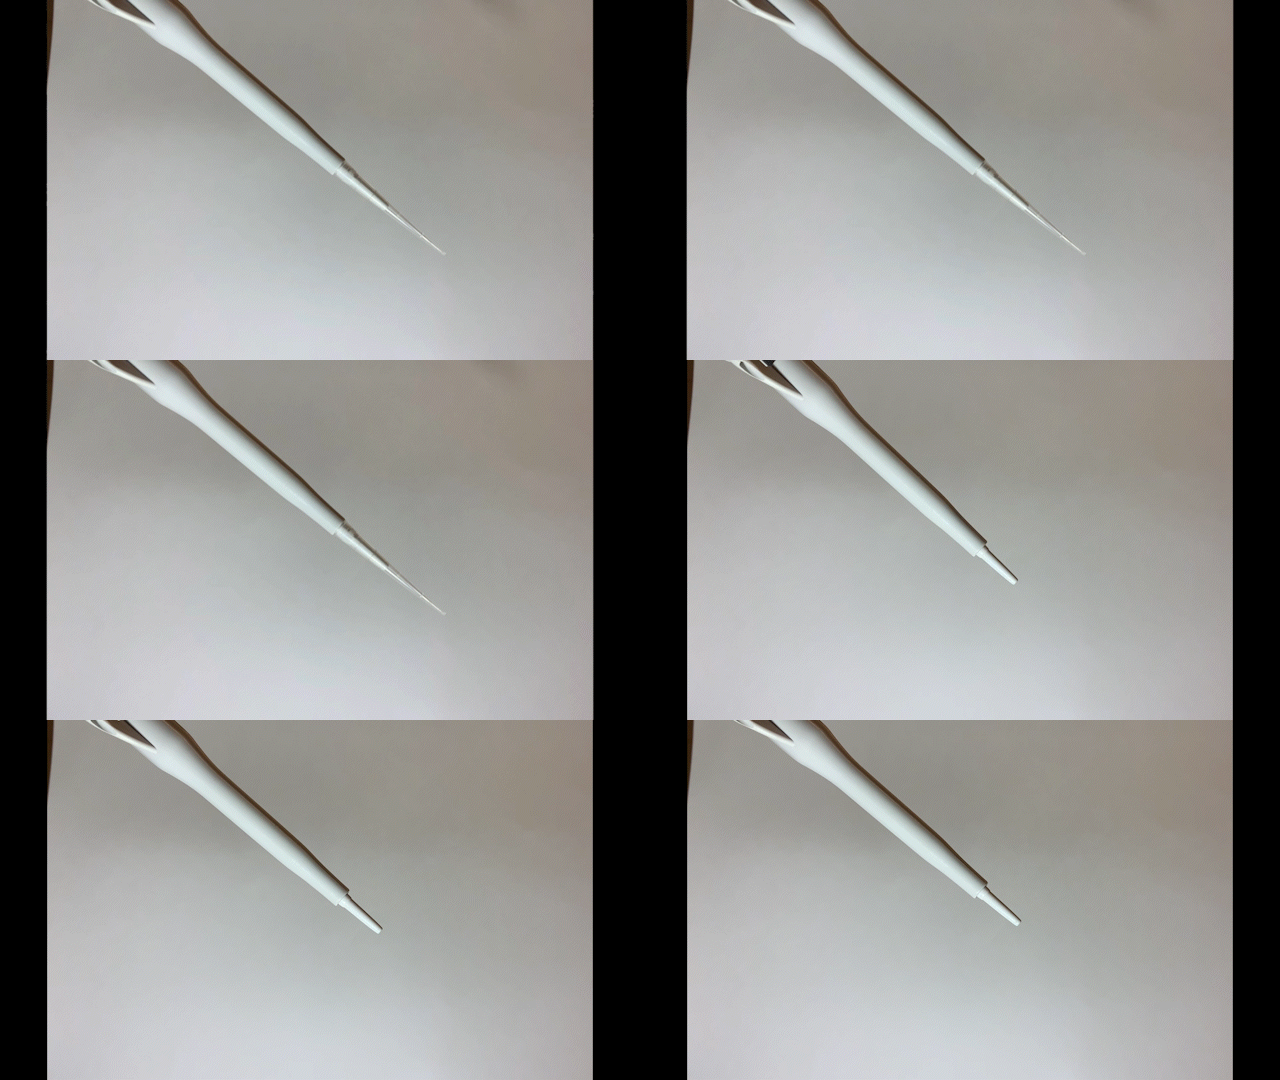
Times it may be OK to reuse a tip: There are two times when I regularly reuse tips in the molecular biology lab.
- Loading gels. If the last step of your experiment is to run a gel, you can generally use the same tip to load multiple samples on the gel. Simply rinse your tip by pipetting up and down in the running buffer between samples. This clearly doesn’t remove every molecule of DNA from the tip, but if a few molecules of contaminating DNA end up in the wrong well, it won’t be enough to see on the gel. And you’re just going to throw out any remaining sample anyway. Important note: if you are running a gel and plan to use some of the remaining reactions for sequencing, or plan to excise bands from your gel for cloning or other downstream procedures, don’t risk contamination; use a new tip for each sample.
- The first reagent in a tube. If you’re setting up multiple reactions with many of the same reagents, order the reagents so that whatever you add first is the same for each tube. For example, if you’re setting up eight reactions in preparation for PCR, and all the reactions have the same primer and PCR master mix, mix enough master mix and primer for all 8 reactions (plus some extra) in a separate tube first. Then you can use the same tip to add your primer/master mix solution to your eight different PCR tubes. In this example, you can reduce the use of 16 pipette tips down to just 3! Then, use a new tip each time that you add a DNA sample to your different reactions.

As you become more familiar with lab procedures, it becomes easier to spot when a new tip is absolutely necessary and when a tip can be reused without leading to contamination. Just always remember that while a good bench scientist may know the times it’s ok to reuse a tip, they also know that it’s better to waste a few tips than to waste an entire experiment.
Contributed by miniPCR bio curriculum director Bruce Bryan
