Five Tips for Micropipetting Success!
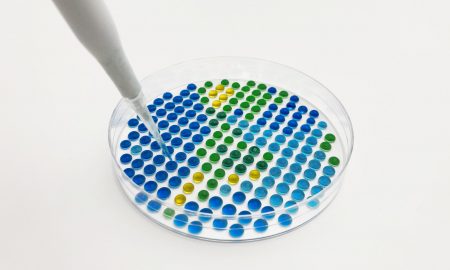
Micropipetting is the foundational skill on which many biological experiments are based! Micropipettes enable scientists to measure small volumes precisely and are essential tools in molecular biology labs. Here are tips for micropipetting success!
1. How to select the right micropipette:
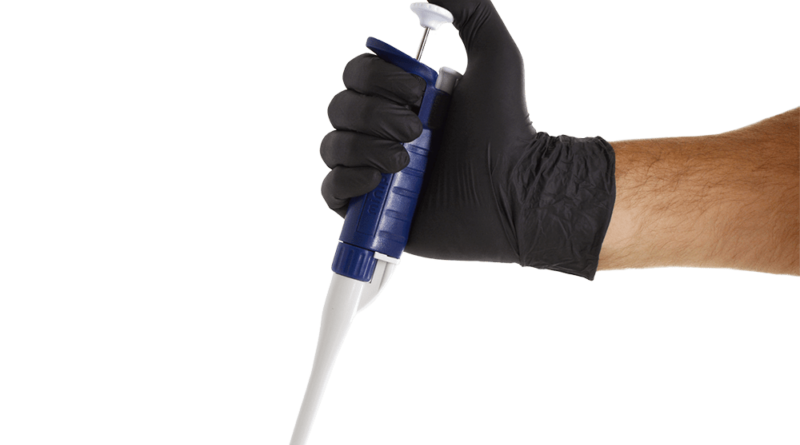
- Micropipettes are commonly available in four volume ranges, usually labeled on the barrel or plunger. Make sure you use a micropipette with a range that matches the volume of the liquid you’re pipetting.
- When a volume falls between the pipettes, select the pipette whose maximum capacity most closely matches that volume. For example, to pipette 20 μl, use the 2-20 μl micropipette rather than the 20-200 μl micropipette.
- See this video for more information on selecting the right pipette!
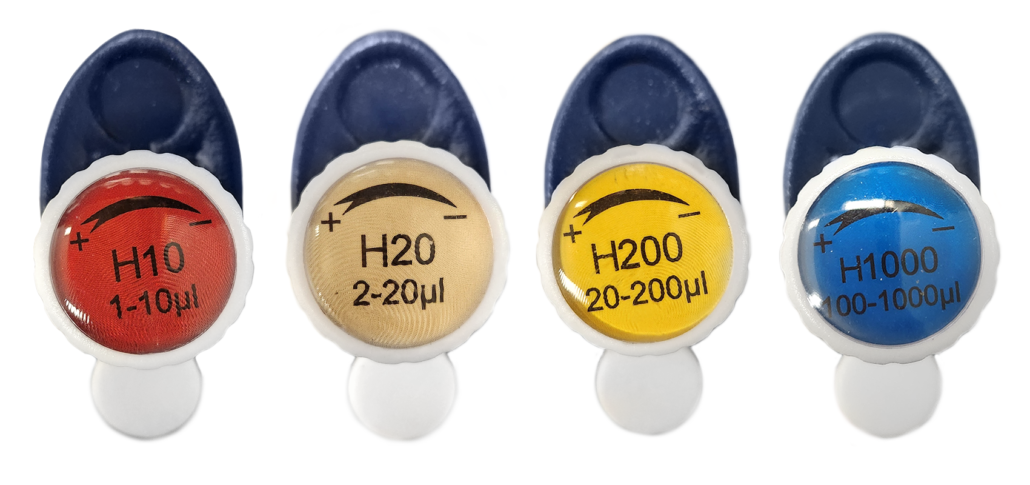
Typical micropipettes and their ranges:
| Micropipette | Volume range |
| P10 or H10 | 1-10 μl |
| P20 or H20 | 2-20 μl |
| P200 or H200 | 20-200 μl |
| P1000 or H1000 | 100-1000 μl |
 The range is typically on the pipette, usually on the top of the plunger, as shown in the photo above.
2. How to correctly set the micropipette:
- You need to know the micropipette’s range to read the volume indicator window correctly.
- The top digit on a micropipette corresponds to the top place value of its range. For example, on a 2-20 μl pipette, the top digit represents the tens place, while on a 20-200 μl pipette, the top digit is the hundreds place.
- Need practice? Check out this “How to Micropipette” Video and answer the accompanying questions.
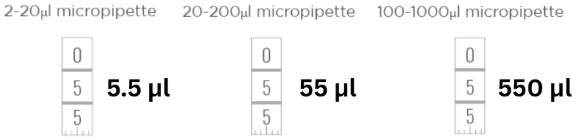 A 0-5-5 on a 2-20 μl micropipette indicates 5.5 μl, while the same 0-5-5 readout on a 20-200 μl micropipette is 55 μl and on a 100-1000 μl is 550 μl instead.
3. Understanding first versus second stop:
- When you press the plunger, you will feel a point of resistance called the “first stop.” Use this stop when aspirating (drawing up) a sample to ensure the correct volume is measured.
- The second stop is reached when you press past the first stop and push the plunger all the way down. Use only when dispensing (pushing out) the sample to ensure all liquid is expelled from the tip.
- For a visual guide, see our “How to Micropipette Like a Pro” video to see the difference.
 4. When to push and release the plunger:
- Press the plunger down (to first stop) before you dip the tip into the sample to avoid introducing air bubbles.
- After you dispense your sample, keep the plunger down until you remove the pipette tip from the sample. If you release it too soon, everything you just dispensed will be drawn right back up into your tip!
- For a visual guide, again see our “How to Micropipette Like a Pro” video.
5. Keep an eye on your pipette tip:
- Holding your sample and pipette at eye level helps confirm that the correct volume is being dispensed into and out of the tip.
- If you are loading gels, confirming that your pipette tip is just inside the well at the top helps ensure the sample is loaded and prevents you from accidentally poking through the gel.
Once you adopt these micropipetting tips, you will be well on your way to perfecting this important skill! Ready for more? Check out the resources below for more support on your micropipetting journey.