Frequently Asked Questions: The Gyro™ S & Gyro™ Max Microcentrifuges
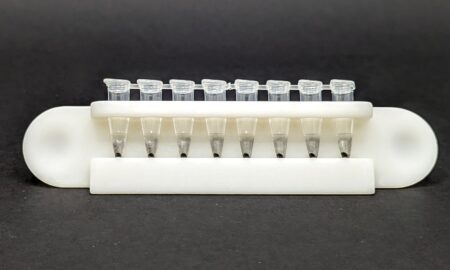
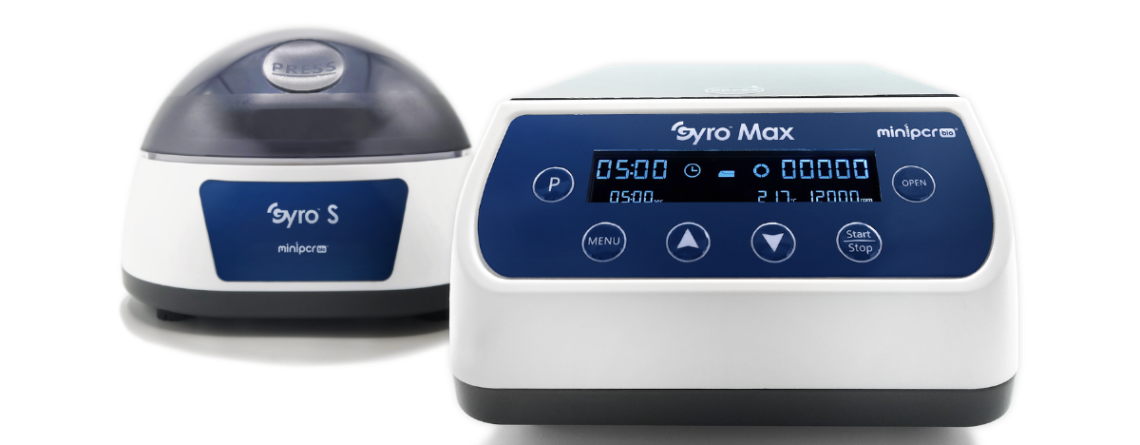
New to miniPCR bio are the updated Gyro™ Microcentrifuges—perfect for quick spin-downs and standard sample prep in the lab and classrooms. Compact and versatile, both tabletop Gyro™ Microcentrifuges feature a 2-in-1 rotor that fits 12 microtubes and four 8-well PCR strips at once.
The Gyro™ S Microcentrifuge is a fixed-speed 7,000 RPM microcentrifuge that offers a single, one-press operation. The Gyro™ Max Microcentrifuge is a variable-speed 1,000 to 12,000 RPM microcentrifuge with an LCD display and memory storage of up to 9 custom preset protocols.
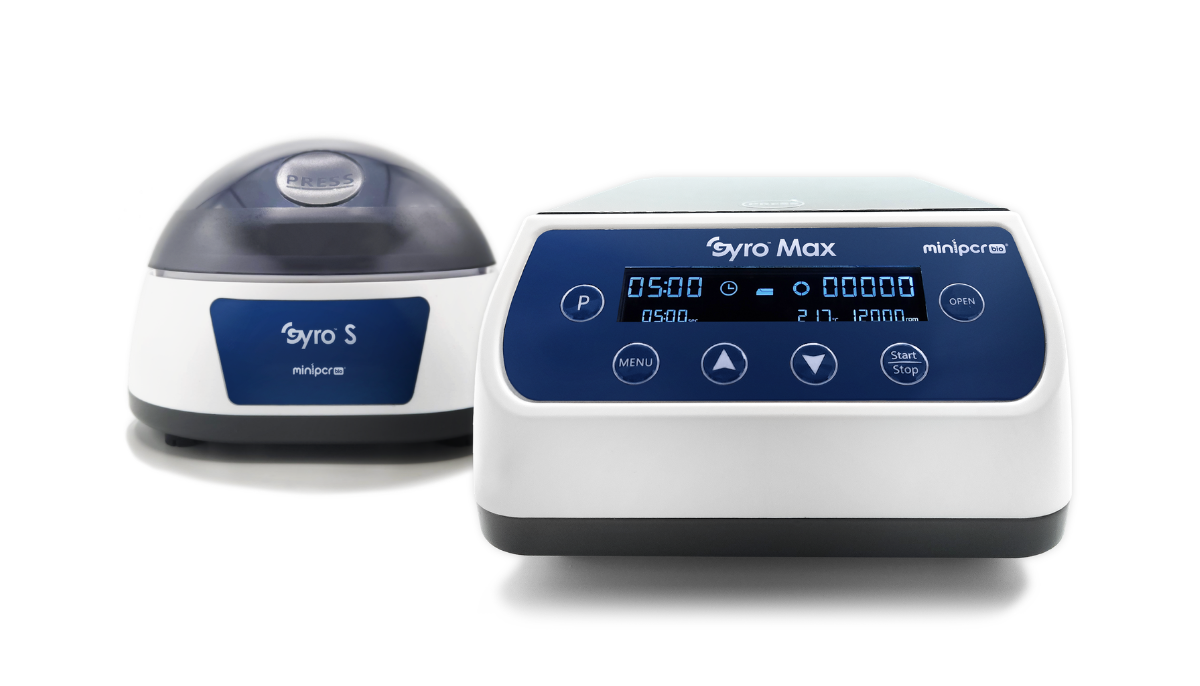
Here’s a quick comparison table between the Gyro™ Microcentrifuges, as well as answers to FAQs below:
Technical Specifications
| Gyro™ S | Gyro™ Max | |
|---|---|---|
| Speed (RPM) | Fixed: 7,000 | Variable: 1,000 to 12,000 |
| Maximum RCF | 3,286 x g | 9,600 x g |
| LCD display | ✗ | |
| 2-in-1 rotor for 12 x microtubes (0.2 / 0.5 / 1.5 / 2.0 ml) + 4 x PCR strips (8 x 0.2 ml) | ||
| 12 adapters for 0.2 ml tubes | ||
| 12 adapters for 0.5 ml tubes | ||
| Automatic safety stop | ||
| Universal voltage power supply (AC 100–240 V / DC 24 V, 50/60 Hz) | ||
| International compatibility | , International power supply add-on for EU, UK, AU | , International AC cord add-on for EU, UK, AU, KR |
| Noise Level: 47 dB(A) |
Frequently asked questions about the Gyro™ Microcentrifuges:
Shipping & Ordering
When will the Gyro™ S and Gyro™ Max be available? The Gyro™ S and Gyro™ Max will be available for shipping starting November 10th, 2026. All pre-orders placed before November 10th will be processed through the standard checkout.
Operation & Safety
What molecular biology procedures are the Gyro™ Microcentrifuges capable of?
- Gyro™ S:
- Quick spin-downs
- PCR and reagent preparation
- Basic spin columns
- Pelleting cells and insoluble precipitate
- Gyro™ Max:
- Quick spin-downs
- PCR and reagent preparation
- Spin column washes
- Pelleting bacteria, protein, cells, and insoluble precipitate
- Educational minipreps
- DNA/RNA extraction
How do I operate the Gyro™ S?
- Ensure the power switch on the back is OFF, then connect the power cable.
- Press down on the “PRESS” marking on the lid to open it.
- Load tubes symmetrically into the rotor to keep the load balanced.
- Close the lid firmly until you hear an audible click.
- Turn the power switch to ON; the rotor will automatically spin up to full operating speed.
- When finished, turn the switch to OFF, wait for the rotor to stop completely, press “PRESS” to open the lid, and remove your samples.
How do I operate the Gyro™ Max? The Gyro™ Max offers two ways to set up a run: Manual (Single-Use) Mode and Saved Program Mode (P01–P09).
- Option 1: Manual Run (Single-Use Setup)
-
- Ensure the power cable is connected and set the power switch on the back to ON.
- Press the MENU key directly to access parameter settings.
- Use the keys to adjust your desired run time, speed (RPM), and safety temperature threshold.
- Load your balanced tubes, close the lid firmly until it clicks, and press START/STOP to run without saving.
- Option 2: Saved Program Mode (P01–P09 & Speed-Ramping)
-
- Ensure the power cable is connected and set the power switch on the back to ON.
- Press the P key to select program mode, then press the MENU key to enter parameter settings.
- Adjust your desired run time, speed (RPM), and safety temperature threshold.
- Save your parameters to an onboard memory slot (programs P01–P09). (Note: To recall a saved program later, press the P key and use the Up and Down keys to browse P01–P09.)
- For two-speed gradient (speed-ramping) operation, press and hold the P key, press MENU, and follow the on-screen prompts using the Up and Down keys to configure the ramp profile.
- Load and balance your tubes in the rotor, close the lid firmly until it clicks locked, and press START/STOP to start your program.
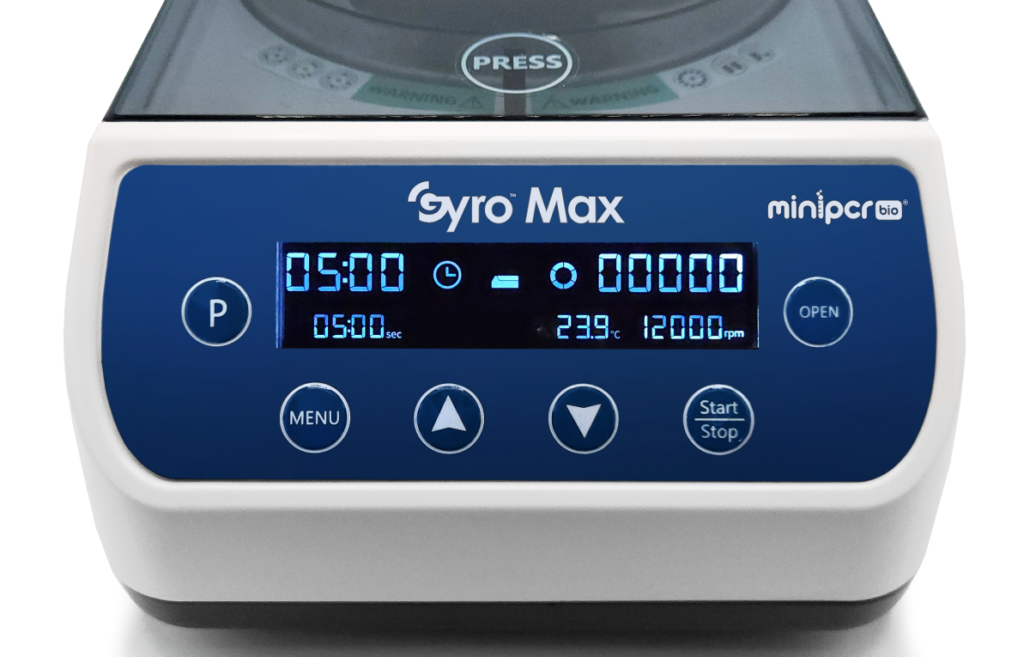
How do I load and remove the adaptors in the Gyro™ S and Gyro™ Max?
- Press the desired adaptor firmly into the rotor.
- Load 0.2 / 0.5 ml tubes in the compatible adaptor symmetrically into the rotor so the load is balanced.
- When finished, remove your samples from the adaptor.
- Grab the lip of the adaptors or push them from below such that they smoothly slide out of the rotor.
Note: The adaptors must be symmetrically placed to ensure the rotor is balanced.
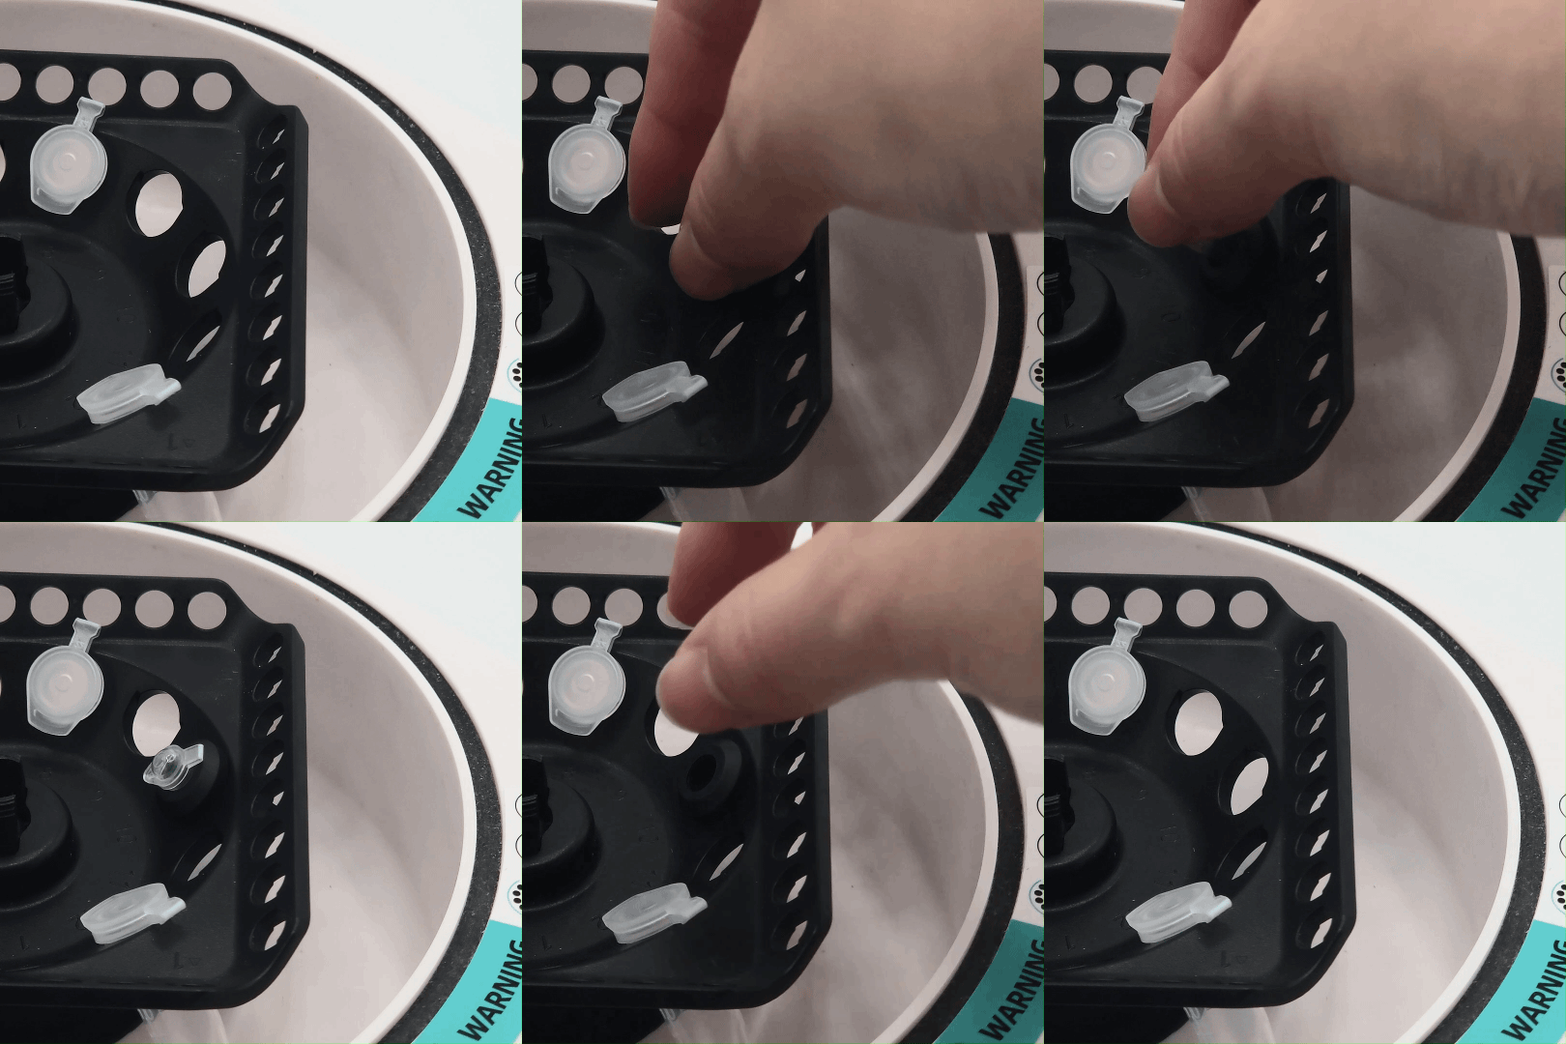
How do I stop the centrifuge as quickly as possible? Pressing the “PRESS” marking on the lid for the Gyro™ S or the “START/STOP” button on the Gyro™ Max while the unit is running will activate the automatic safety stop, which decelerates the rotor.
Maintenance & Troubleshooting
How do I clean and maintain the Gyro™ S and Gyro™ Max? Always turn off and unplug the unit prior to cleaning.
- After each use: Inspect the rotor for damage, wipe the interior chamber and rotor with a damp, lint-free cloth, and dry completely. Clean up spills immediately.
- Weekly: Clean exterior surfaces using a mild laboratory-grade detergent and inspect the power cable for damage.
- Monthly: Inspect the lid latch mechanism for proper engagement and verify that the rubber feet are intact.
Note: Never immerse the instrument in liquid, do not apply direct spray or harsh solvents, and do not autoclave the instrument or rotor.
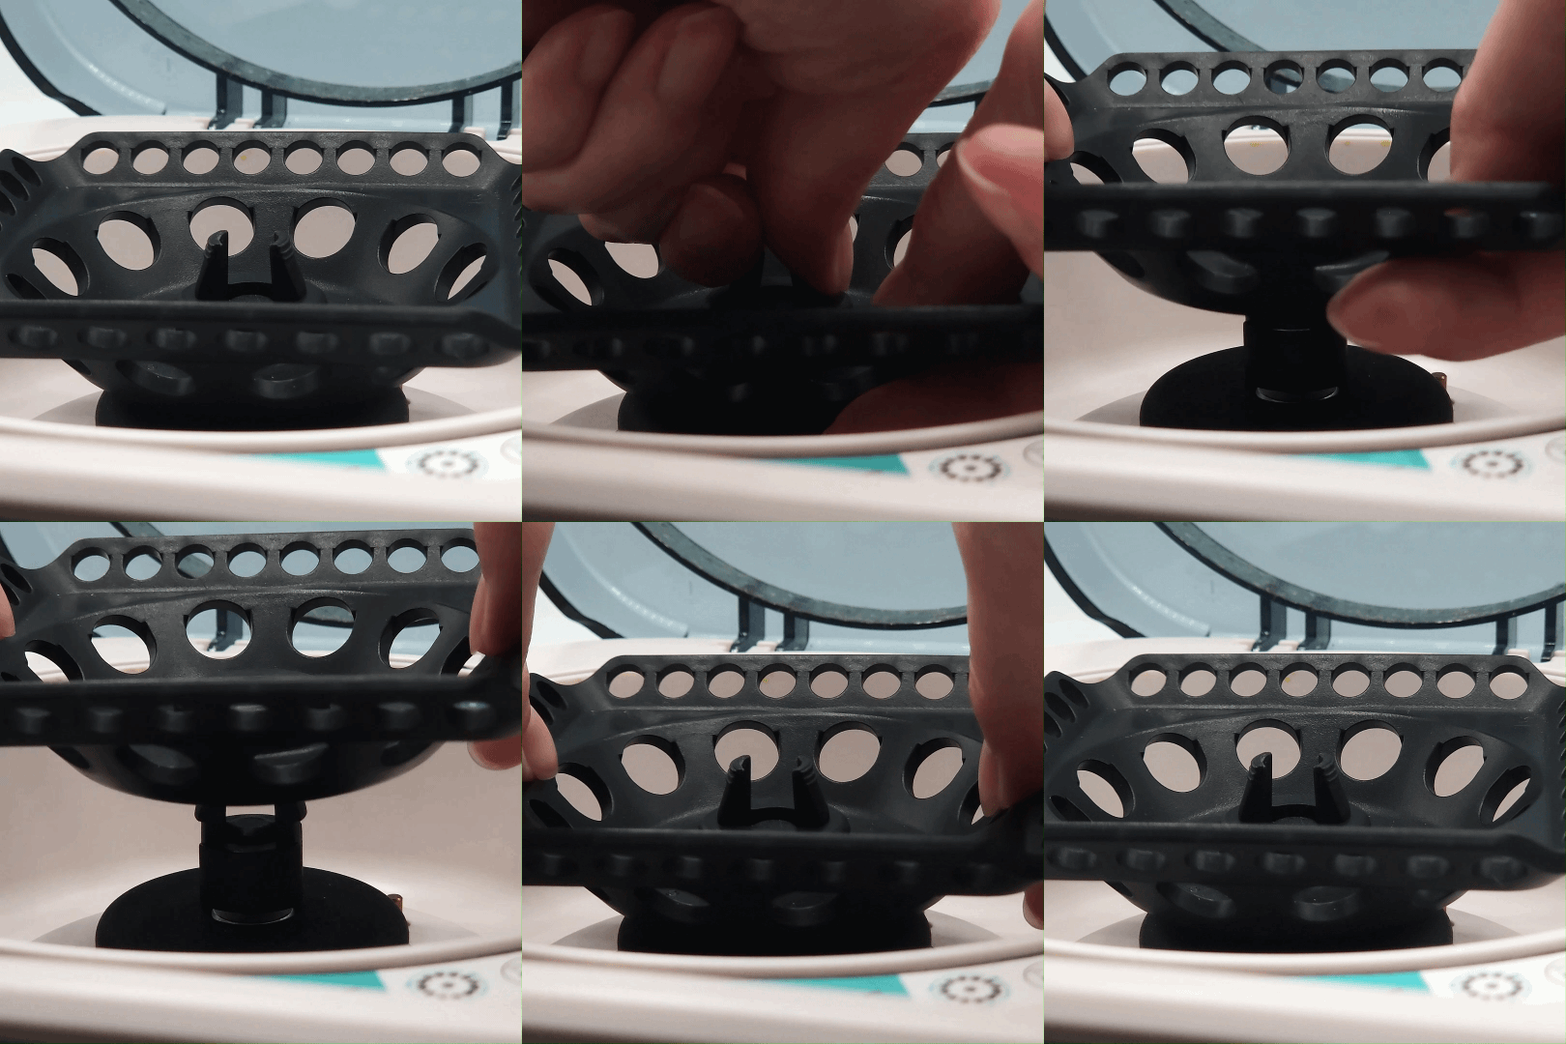
What should I do if the unit experiences excessive vibration or noise? Stop operation immediately and turn off the power. Check for the following:
- Tubes are not symmetrically balanced or are underfilled/overfilled.
- Rotor is cracked, deformed, or not seated properly on the base.
- Rotor buckle is loose or damaged.
If the issue persists after correcting these factors, contact miniPCR bio™ technical support before resuming operation.
Why won’t the lid open after a run? The rotor may still be in motion or the lid latch interlock is engaged. Wait until the rotor comes to a complete stop, then press the “PRESS” mark on the lid for the Gyro™ S or the “OPEN” button on the Gyro™ Max. Never force the lid open.
Upgrade your lab’s sample prep routine today! Schedule a demo or visit our product pages to see how the Gyro Microcentrifuges can fit into your experiments’ workflow.